
Growing plumeria from cuttings is easier than you think. Seeing them grow and bloom is pretty rewarding too. Most of my plumeria have been grown from cuttings. I’ve gotten most of them to root, but I have made some mistakes too. I’ll share both my successes and failures with you. So, by the time you’re done reading, you’ll be all set to plant your first Plumeria cutting.

Overview of Plumeria
Plumeria, also known as frangipani, or the Hawaiian Lei flower, is native to tropical and subtropical regions of the world. They are deciduous shrubs or small trees that are known for colorful, fragrant flowers.
Propagating Plumeria
Plumeria can be propagated by three methods. The first is by planting seeds, the second is by rooting a cutting, and the third is by grafting. Each method has its pros and cons, which we discuss briefly.
- One of the benefits of growing plumeria from seed is that seeds are fairly inexpensive. But there are a couple of things you need to consider. First, it may be hard to find seeds. Second, plants grown from seeds are not mirror images of the parent plant. So colors, leaves, shapes may all be different. But that can be fun too. Third, It will take a plant grown from seed anywhere from 3-5 years to mature and bloom.
- Cuttings are pretty easy to root, and will be a mirror image of the parent plant. I recommend starting with a cutting that is known to be easy. Like Celedine, Slaughter Pink or Penang Peach.
- Grafting is a method that is used for cuttings that are known to be difficult to root. An example would be, a red like Donald Angus. You would graft the red cutting to a white or yellow tree that is known to be easy to propagate. Another reason to try grafting would be if a branch were broken and you wanted to reattach it. I have not attempted grafting but have attended a demonstration in my local plumeria group. DFW Plumeria Grafting Demo.
How to Plant Plumeria from Cuttings
First things first, you’ll need a cutting. I’ve bought cuttings from Maui Plumeria Garden and Florida Colors Nursery and had great success with both. The ideal size for a cutting is 12-18 inches. If you are getting a cutting from a tree that you own, it should be a healthy tree. Make sure to water the mother plant well the day before you take the cutting. This will help reduce the shock to the existing tree and the cutting will be hydrated.
Once you have your cutting, it’s time to let it dry and form a callus. This process, called callusing is really important. This callus helps prevent rotting when the cutting is planted.
Use a sharp, clean tool to make a diagonal cut on a branch. Remember, how you cut Plumeria plants will affect their growth, so a diagonal cut is recommended to provide a large surface area for root development. You also want to cut at a 45 degree angle. This will prevent water from pooling in the cut area. Seal the cut with caulk to protect the mother plant.
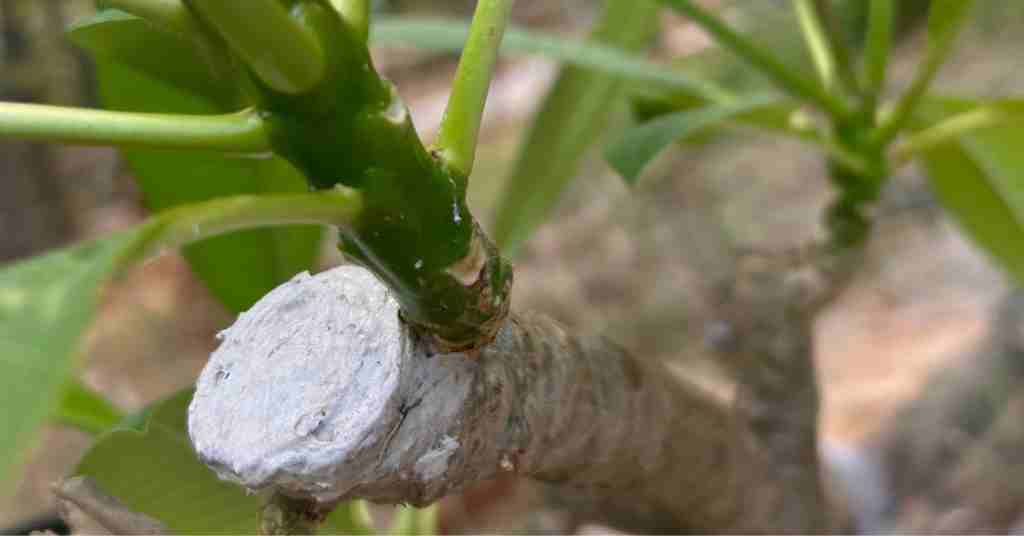
So, let the cut end of your Plumeria dry for a week or two before moving on to the next step. The time the it takes to callus will depend on the weather conditions in your area. The warmer it is the faster the callus will form. See the picture below of a well callused plumeria cutting.

Materials Needed:
- Callused plumeria cutting
- 1-gallon black nursery pot
- Potting Mix
- Rooting Hormone
- Water
Time needed: 10 minutes
How to Plant a Plumeria Cutting in a pot.
- Prepare the soil mix
Mix the soil in a clean container. For today’s article we are using Perlite (45%), Cactus Soil (45%) and Peat Moss (10%).
Water the soil until it is moist and holds together, but not soaking wet. The soil should be wet enough to hold the plumeria cutting up, so it doesn’t fall over.
- Prepare the nursery pot
Fill the pot 1/3 of the way full of the soil mixture.

- Apply the rooting hormone
Dip the cutting in rooting hormone powder until fully covered.
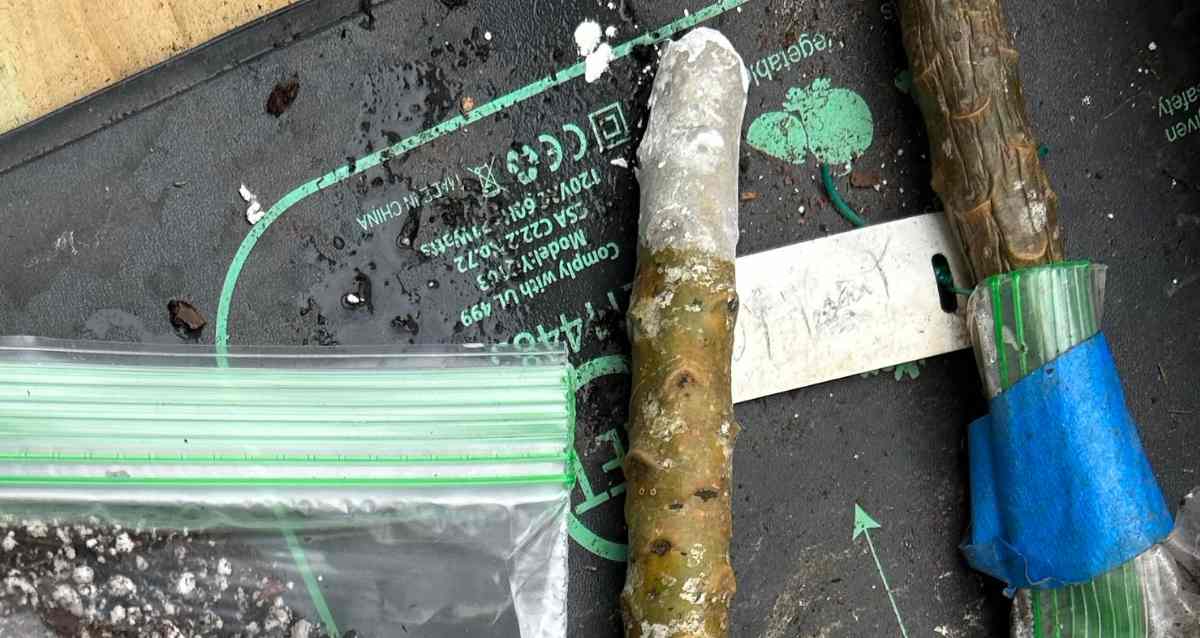
- Pot the cutting
Put the cutting in the center of the pot. While holding the cutting, fill the pot with the soil mix. Keep filling the pot until the potting mix is one inch from the from the top. Press down on the soil so it makes contact with the cutting. Add one cup of water, making sure it drains out the bottom of the pot. Place the cutting in warm shady area.
These cuttings are under our covered patio in the backyard. This picture was taken on July 16th 2023.
Caring for the Cutting While It’s Rooting
Your plumeria is not going to need a lot of care while it’s rooting. I do check on mine every couple of days to make sure it’s progressing. If it starts to look a little dry or wrinkled mist the cutting with a spray bottle.
It’s also important to be on the lookout for pests like aphids, spider mites and thrips. If you notice any, use an organic pesticide or neem oil to get rid of them. Don’t water your cutting again until it has 3-4 fully developed leaves. Because until it has leaves, it will not have any roots and the cutting will rot. Your cutting should develop a healthy root system in about 3-6 weeks.
Here are pictures of the cuttings as of September 25th 2023.


Caring for the Plumeria Once It Has Roots
Once your Plumeria cutting has established roots, it’s time to gradually move into the sun and begin a regular watering and fertilizing schedule. The When it comes to fertilizer, I like to use a balanced fertilizer for overall health of young plants. These two were rooted a little late in the year so I’m not really expecting them to bloom this year. To encourage blooming you will want to use a fertilizer with a high middle number. The middle number is phosphorous. Read more about fertilizing your plumeria tree.
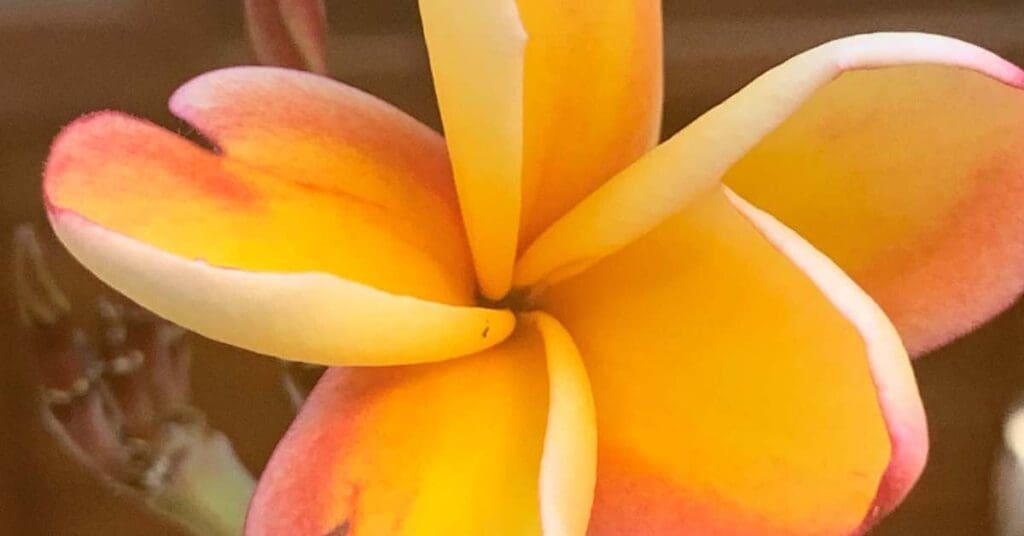
In time, your cutting will grow into a healthy tree with beautiful blooms.
Conclusion
There you have it, a step by step guide to growing plumeria from cuttings. I hope you found this article helpful we wish every success in rooting your plumeria. Drop us a note or leave us a comment if you have questions.
FAQ – Growing Plumeria from Cuttings
Typically, plumeria cuttings start to develop roots within 3-6 weeks. However, this can vary based on factors like the cutting’s health, the growing environment and the care provided. Patience is the key during this phase, so don’t worry if your cutting takes a little longer to root.
The best time to take cuttings from a plumeria plant is in the early spring. This is when the plant waking up from it’s winter dormancy. At this time, the plant is starting its active growth phase, which can help the cutting establish roots more efficiently.
If your cutting has leaves remove most of them, leaving only a few at the top. This will reduce moisture loss and encourage root growth.
If you buy a cutting from Hawaii, the leaves will be trimmed, and there will nubs from the leaves, don’t worry about these, they will fall off on their own.
If your cutting is rotting. Its often due to overwatering or poor drainage. Remove the cutting from the soil. Cut the rotting part off using clean, sharp, pruning shears or a saw. Cut until you see white flesh. Clean your tools again and make another cut. This will prevent any spread of bacteria, fungus or rot from the damaged part to the healthy part. Let the cutting callus over before replanting.